


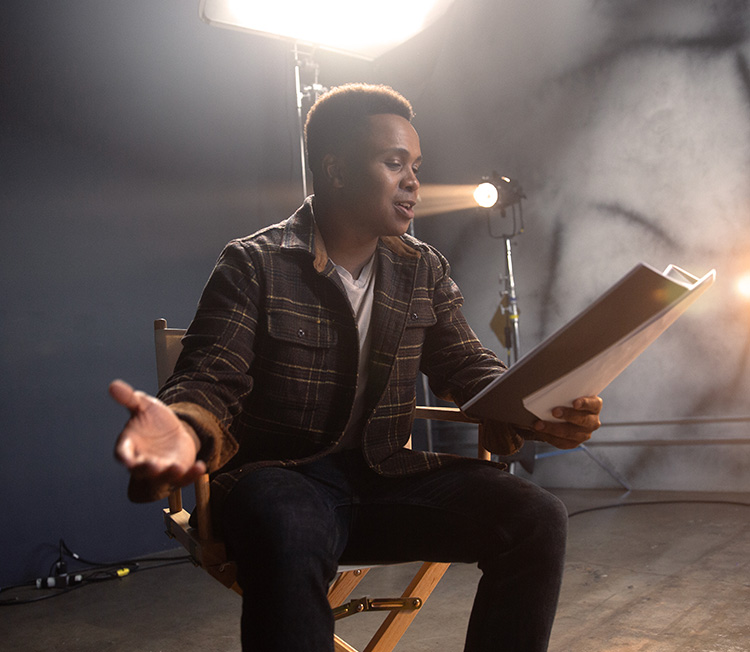


Learn how to edit and export your self-tapes and showreels with our handy step-by-step guide.
With the rise in popularity of self-tapes and showreels, it’s more important than ever to know how to edit a video. Video editing can sound complicated, and you may think it would be expensive to get the right software, but this doesn’t have to be the case.
Here’s our guide to basic video editing using free software that’s easily obtained from the internet.
Skip to:
- Isolating video clips you want to use
- Joining video clips together
- Fading in and out
- Adjusting the audio volume of your clips
- Adding a title card
- Exporting and uploading a video file
With these new skills, you’ll be able to edit self-tapes, showreels, and even short films if you’re feeling daring.
Getting Started with Video Editing
There are various tools you can use for video editing: Final Cut Pro, Adobe Premiere, iMovie. For our guide, we’ll be using DaVinci Resolve, which is professional, works on Mac and PC, and is free.
Installing and Opening DaVinci Resolve
Download and install the free version of DaVinci Resolve and Fusion software from Black Magic Design’s website.
If you’re using a Mac, you can also download DaVinci Resolve from the App Store.
When you start up DaVinci Resolve, you’ll arrive on the Project Manager page. Click on the ‘New Project’ button, and type in the name of the project you want to create to get started.
Your Editing Tools
Once you’ve opened your new project, you’ll see various tabs at the bottom of the screen. You’ll only need ‘Edit’ and ‘Deliver’ for now. Click ‘Edit’ to go to the edit page.
In the top left corner is the media pool, where you’ll put the video files you want to edit. To add a video clip to the media pool:
- Right click over the media pool and select ‘Import Media’ or go to ‘File’, ‘Import Media’.
- Navigate to the video file you want to work with and click ‘Open’.
- You’ll be asked if you want to match the project frame rate to the video file. Click ‘Change’ to bring the video footage into the software.
Double-clicking on a video will open it in the media viewer, where you can navigate to the part you want to edit by either clicking on the progress bar or button below.
How to Isolate Video Footage
- Decide where you want your video clip to start and set an in point. You do this by pressing the ‘i’ key on your keyboard or click the arrow-pointing-right button at the bottom right of the video.
- Determine where you want the video to end and set the out point by pressing the ‘o’ key on your keyboard or click the arrow-pointing-left button at the bottom right of the video.
- Now you’ve isolated the footage between your in point and out point, drag it into the timeline space at the bottom ready for editing.
How to Join Video Clips Together
The Timeline
The timeline is where you construct and edit your video. The far left of this section is the start of the video.
Dragging a section of video into the timeline will create a new video and audio track. You can add to the timeline by dragging other video sections and placing them after the existing videos.
If you want to add video to the beginning of the timeline, you’ll need to move the existing videos forward to allow enough space to insert it. You’ll also notice a red vertical line on the timeline. This is called the playhead, and whatever is underneath it is what displays on the timeline viewer.
Timeline Tools
Just above the timeline are the tools. For basic video editing, you’ll only need the selector tool (which looks like a cursor) and the zoom in, zoom out tool at the right end of the tool list.
The selector tool allows you to do edits. The zoom in, zoom out tool allows you to focus in or out of a particular part of the footage within the timeline. This allows for more precise editing.
To remove from or add to the video clip:
- Hover your mouse over the end of the video until a symbol appears at the bottom of it.
- Click and drag away from the existing video to add more footage from the video your clip was initially taken from.
- Click and drag towards the existing video to trim more footage from the clip.
How to Add Fade In and Fade Out to Your Video
To add a fade in or a fade out to your video:
- Hover your mouse over the beginning or end of the video until a white box appears at the top of it.
- Click this box and drag it towards the video.
- Numbers will appear, which refer to seconds and frames. If, for example, your video was recorded at 25 frames per second, pulling the toggle to 12 frames would make it fade in for just under half a second.
- Make the fade as long or as short as you feel is right.
You can do this to the audio as well, but you’ll need to have the audio track expanded first. To expand the audio track:
- Find the audio track you want to expand on the far left of the timeline.
- Click on the bottom of the box that contains it and drag it downwards.
This will make the tools appear and allow you to see the audio as a waveform.
How to Adjust the Audio Volume in Your Video
Once you have expanded your audio tracks by following the steps above, you can see the rising and falling lines on the timeline which make up the audio waveform. When looking at the audio waveform in the different clips on your timeline, you may notice some clips have higher peaks than others. This means the volume of those clips is higher or lower than the volume on the other clips. You will need to change the audio volume so the footage all sounds the same.
To change the volume:
- Hover your mouse cursor over the thin line running through the waveform of the audio that you wish to change and click on it.
- Drag the line upwards to make the audio louder, and downwards to make it quieter.
- Try to make the waveform the same height as the clip with the ideal volume. There will likely be some points of the waveform that are higher or lower than the rest but aim for most of the peaks to be the same height.
- Ensure the peaks of the waveform don’t hit the top of the track, or this could cause the audio to distort in the final edit.
Adding a Title Card to Your Video
To add a title card to the beginning of the video:
- Make space at the beginning of the timeline by selecting all the video clips (either by clicking on each one while holding the ‘shift’ key, or by drawing a selection window over all the videos) and dragging them further along the timeline.
- Go to your toolbox on left window of the screen. This will contain all the video and audio filters and effects that you can use.
- Click on the ‘Titles’ section and drag the ‘Text’ effect onto the beginning of the timeline.
- A new menu will appear at the top right of the page. This will provide you with the tools you need to edit the text.
- Type the title you want to appear on the screen into the ‘rich text box’, and change the font, font size, position, etc., to your liking.
- The title usually defaults to five seconds in length. If you want to change this, you can do so by clicking on the edge of the box and dragging it away from the box to extend, or towards the box to shorten.
- Make the title fade in and fade out by following the steps as in the ‘how to add fade in and fade out to your video’ section above.
- If there’s any remaining space between the title box and the first video clip, remove it by right clicking in the gap and select ‘Ripple Delete.’
How to Export Your Video
Once your video is complete, watch it back to ensure you’re happy with it. When it’s ready, you can export it as a single video file ready to upload to the internet.
To export your video:
- Go to the ‘Deliver’ tab.
- In the top left-hand corner, you’ll find the video encoder settings. You will see preset options for YouTube, Vimeo and Twitter – all of which are suitable for uploading your video to the internet.
- Select one of the presets for your video.
- Give your video a file name. For example, if you’re recording a self-tape, you would use your name, the name of the project, and role that you’re auditioning for.
- Select the location where you want to save your video.
- Save your project either by clicking ‘Control’ or ‘Command’ and ‘s’, or by going to ‘File’, then ‘Save.’ This prevents it from being lost if DaVinci Resolve crashes during the video rendering.
- Once you’ve saved your video, click ‘Add to Render Queue’ at the bottom of the window. This will send the video to the window to the right of the screen. You can send multiple videos to the queue to export in one go.
- Click the ‘Render All’ button at the bottom of the screen to start the export.
Rendering can take quite a long time depending on how powerful your computer is. When it’s finished, the video file will be saved to your device.
Once you’ve watched the video back to ensure there are no problems, it’s time to send it out to casting professionals. Good luck!
Now you have editing skills, find out more about how to improve your self-tape and how to make a showreel.