


For parents/guardians of Young Performers and all our members who are feeling a bit new to the art of self-taping, this article is for you! Written by our very own Nicholas Peel, who has mountains of experience in this field, the article guides you through. From the bare necessities, to tips on filming, lighting and sound and finally, editing and sending your file.
Self-Taping Tips for Young Performers
Self-taping has been around for a number of years, however it is progressively becoming a much more important part of a performer’s toolkit. This is especially so for young performers, as it allows them to audition for projects without interfering too much with education commitments, allows them to be seen for more roles, and be asked to audition for roles from further afield.
Ultimately, the most important thing to remember for a self-tape is that if they can see you and hear you, then that’s the thing that matters the most. There are, however, a number of tips that we would like to share that can make it easier for you, and the person who is receiving the self-tape at the other end. It is also important to note that online safety for children is always paramount, so an adult should be present in the space when filming a self-tape or attending an online audition if the young performer is under 18.
Make it Easy on Yourself
Don’t overthink it. The more time you spend taping, the more stressed you and your child may become and that stress will be apparent in the performance. Remember, it’s not a line learning exercise and the lines aren’t as important as the journey in most cases. Make sure your child has an understanding of the script, knows the lines to a degree, then rehearses and shoots it. If they can’t get it in three takes, take some time out and try again later.
It’s usually okay to read from the script if necessary, but it’s best to check with your agent, and if you do, make sure that the camera can still see the performer’s face clearly.
It’s a good idea to practice self-taping in your spare time. Practice makes perfect, the more you practice, not only the performance parts of a self-tape, but also the technical parts, the easier it becomes and the less stress there will be when you receive a request to film a self-tape. If you can become confident about self-taping, that confidence will show on camera.
Do It as Soon as You Reasonably Can
Understandably this is a very hard thing to do, with other commitments and the often very tight deadline for a self tape. The majority of performers film and send their tapes at the last minute, however the people watching will usually start trying to make their decisions from the moment the first tape comes in, therefore it’s best to get it done and sent over to your child’s agent as soon as possible. The more practice and the less overthinking that you can do, the faster you will be able to turn them around.
Ultimately, if you can’t do it within the (often very unreasonable) deadline, then it is best to let your agent know as soon as possible so they know what to expect. It’s best not to send the self-tape in late without warning them first.
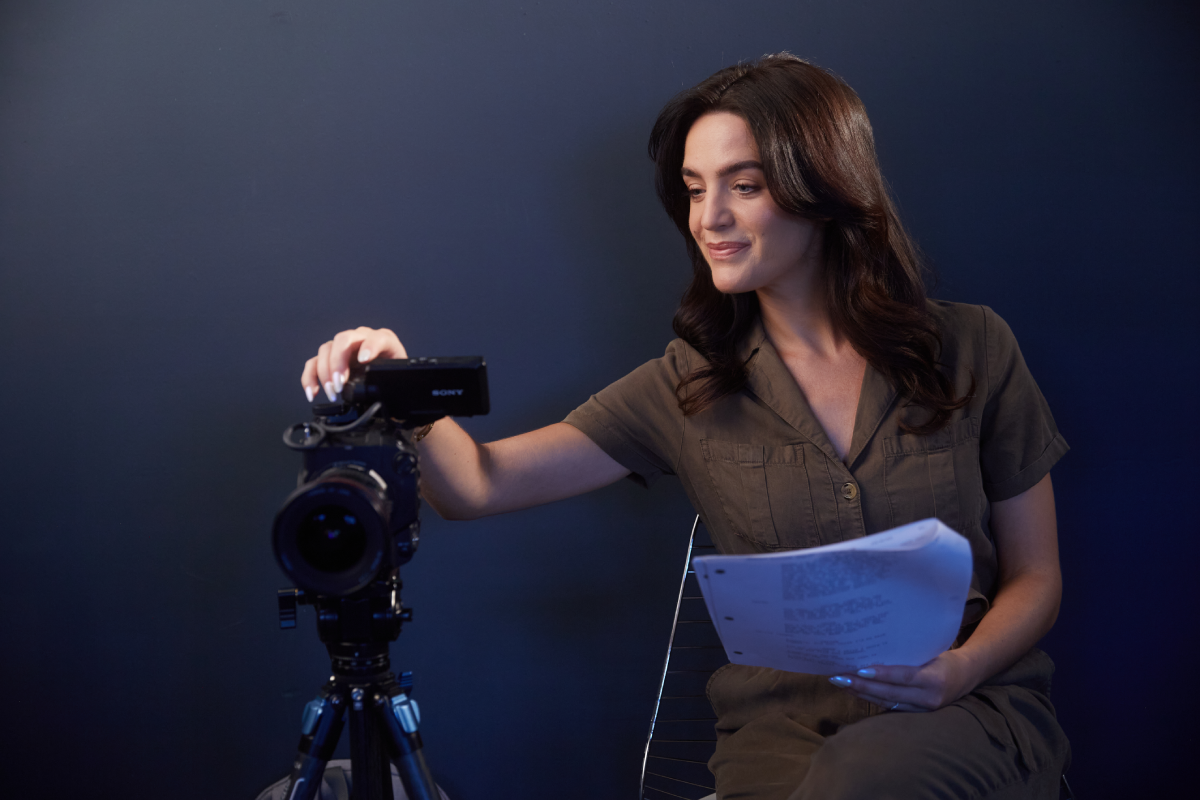
Film in Landscape, Not Portrait
Some people don’t mind videos being filmed in portrait, however there are still a lot of people out there who have great difficulty working with portrait videos. You don’t want to be inadvertently causing someone down the line a lot of additional work, so it’s best to film the whole self-tape in landscape, even the ident.
If you are having trouble filming a full length shot for the ident in landscape, then a simple tilt down would be sufficient, or alternatively film it as a separate video clip in a location where there is more space. For more information on idents, please check out this handy video.
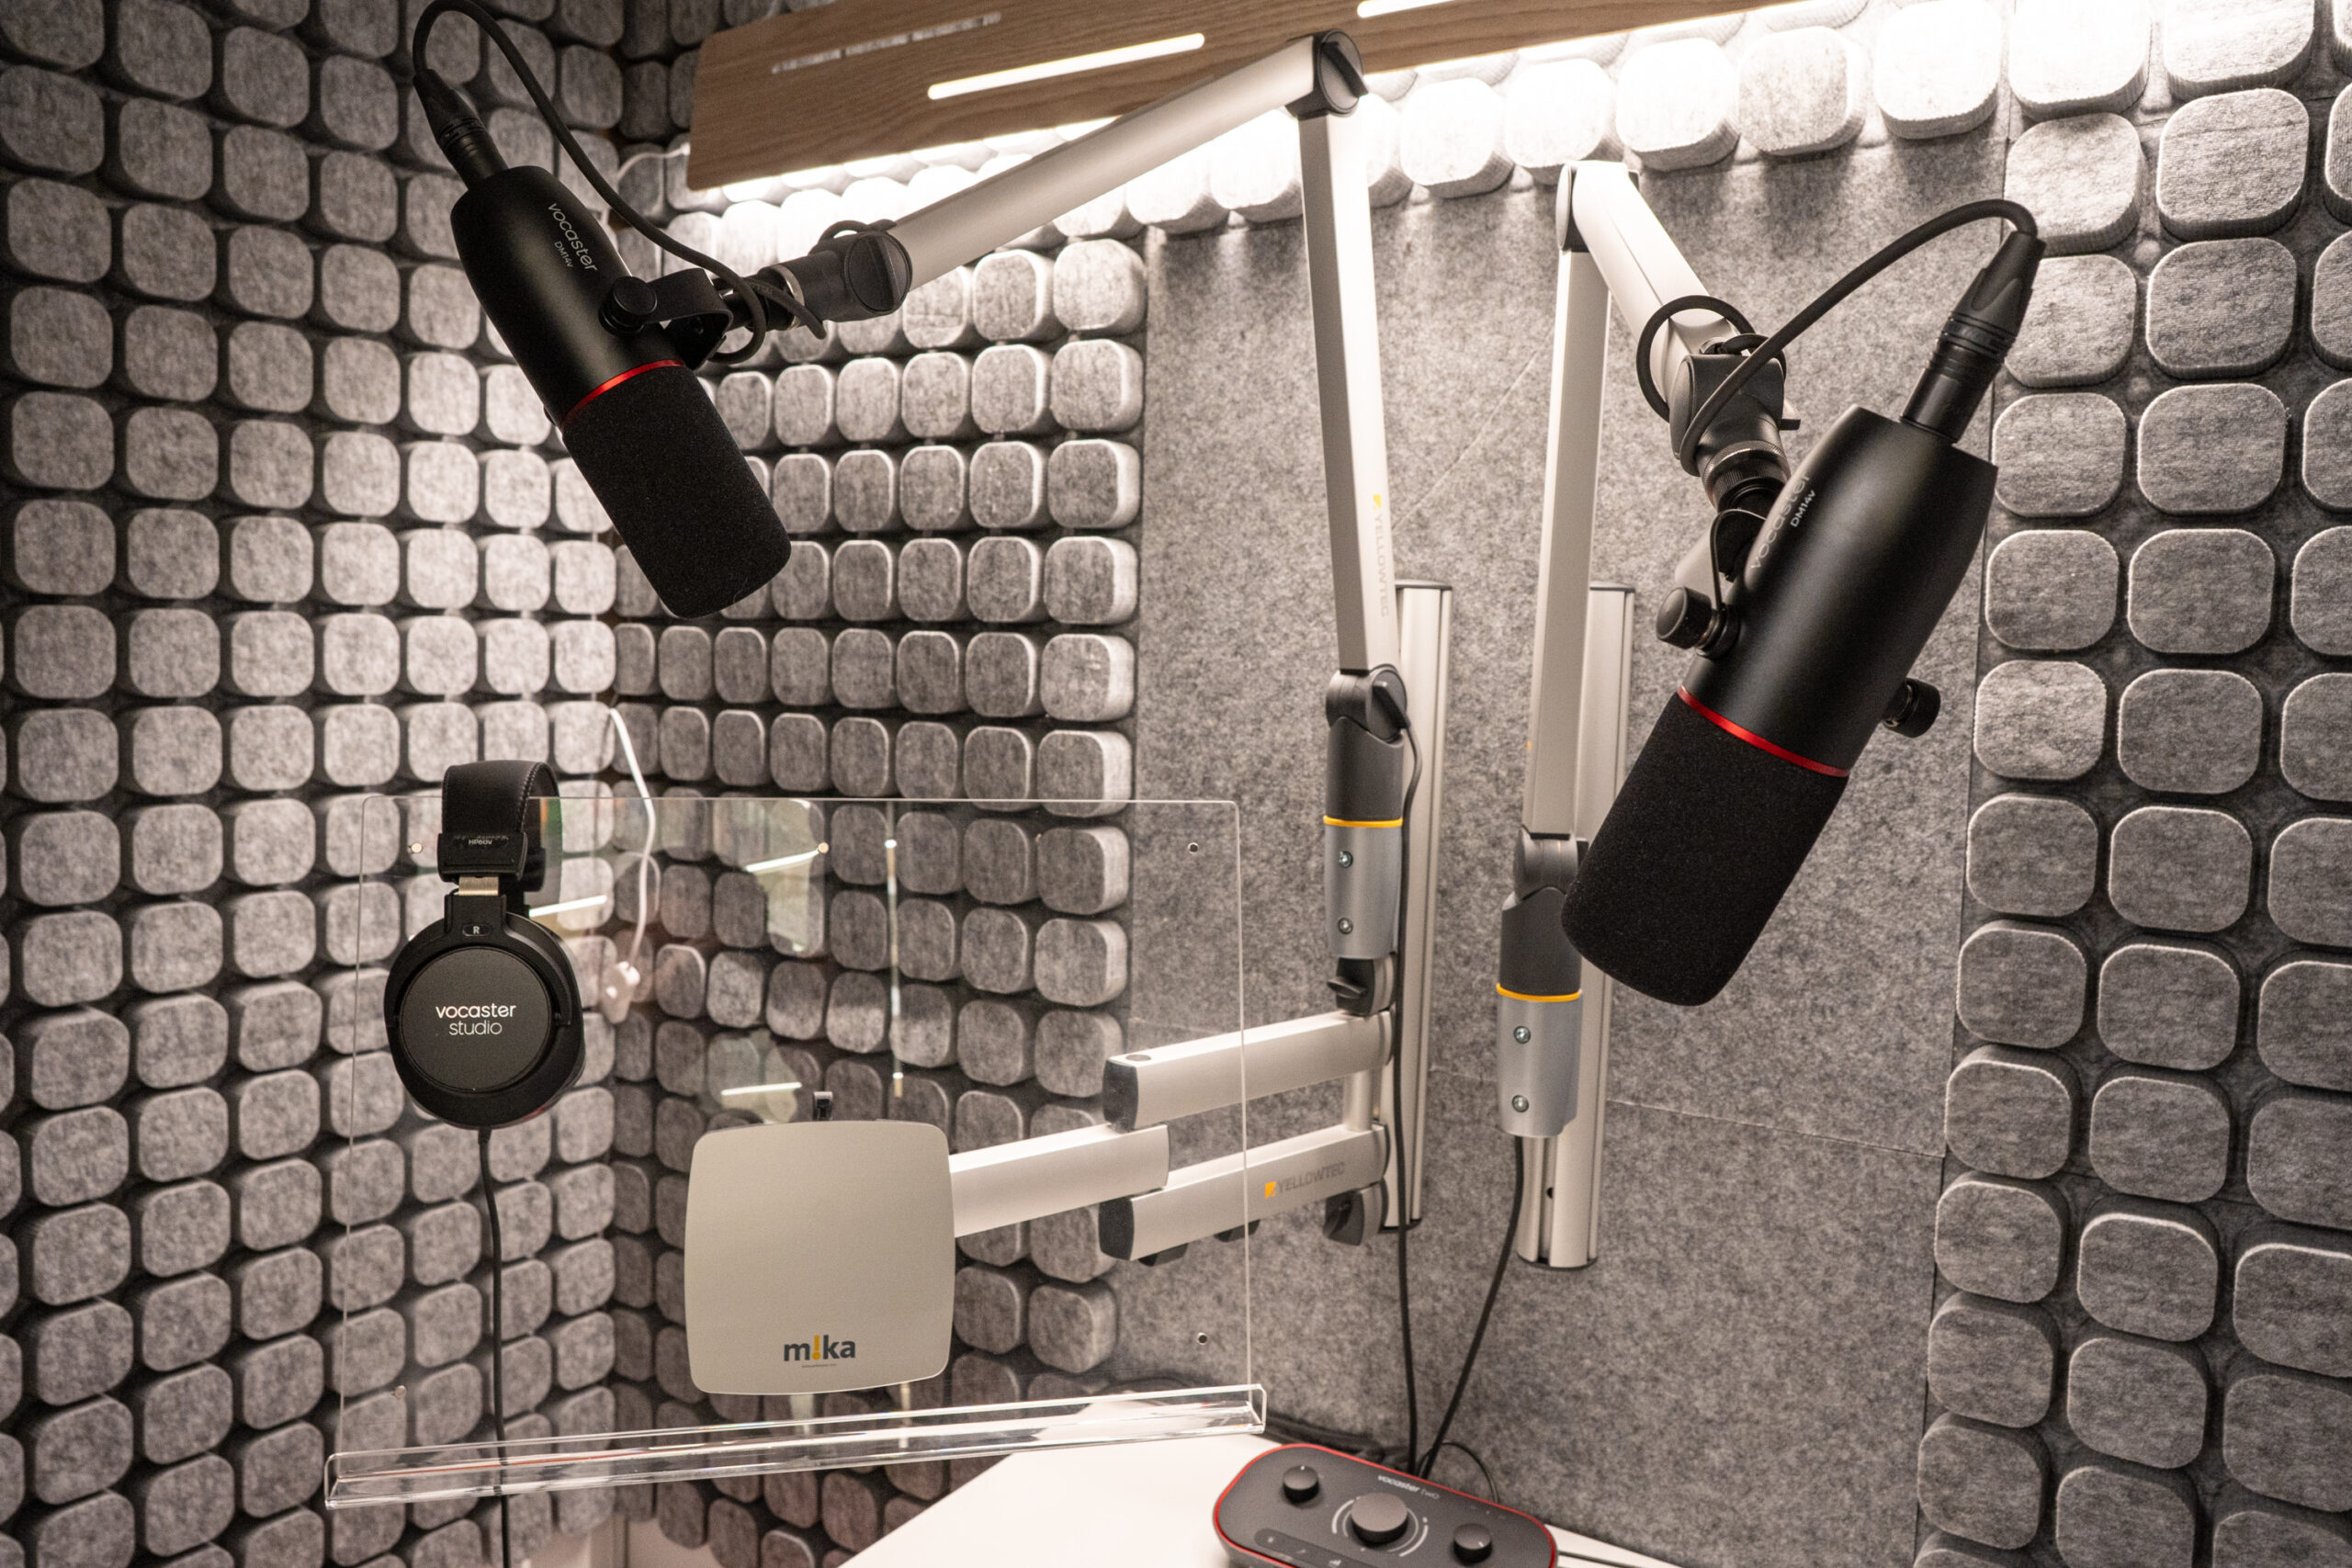
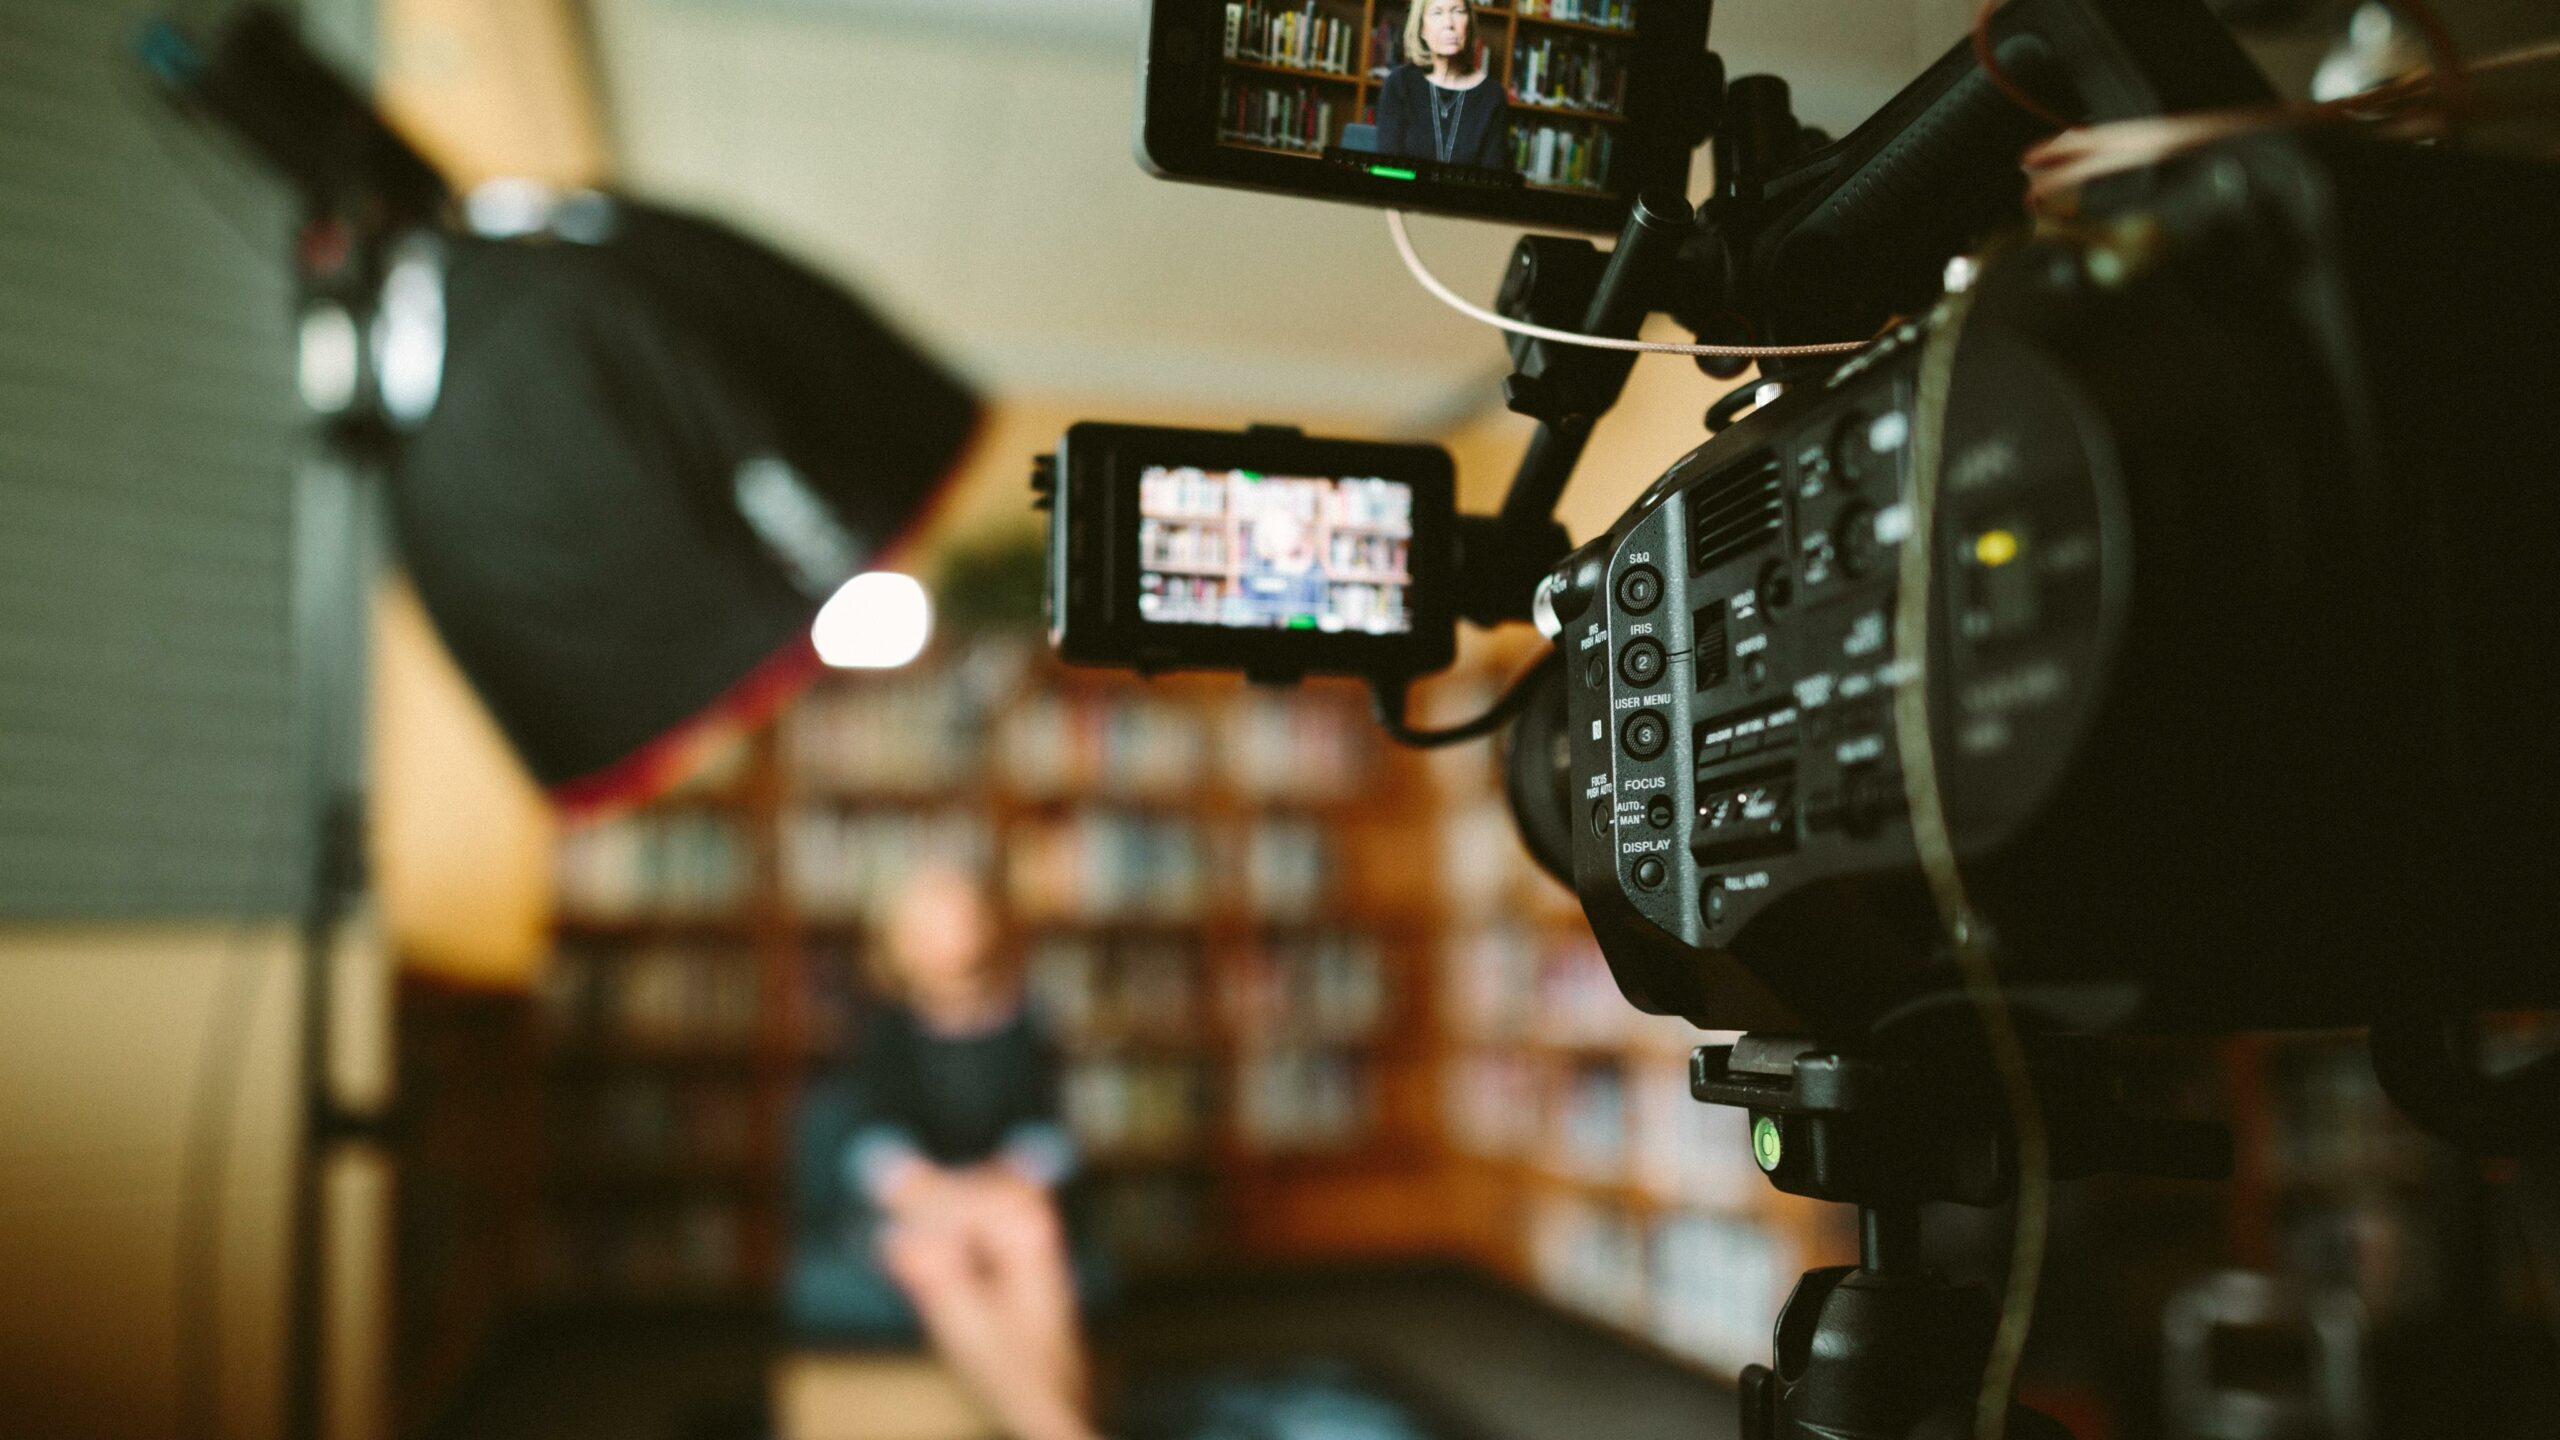
Lighting and Sound
If the image is grainy, then this usually means that there is not enough light for the camera to film it. The grain is caused by the camera electronically boosting the image – this is easily fixed by filming in a brighter environment, or getting yourself a dedicated light to film with.
If the sound is fuzzy, then the microphone is probably too far from the performer and you may need to get an external microphone closer, or even get a microphone that you can put on the performer. Alternatively there may be a lot of background noise in the room. We tend to filter out a lot of background noise in our head and don’t notice it. If you make a conscious effort to try and hear what background noise there is in the room, then you can work out the source and try to remove it.
For more information about lighting, sound, external microphones and lights, check out this handy article.
Try to Make Sure the File Isn’t Too Big
If you are filming on your phone or tablet, film in HD as opposed to 4K. The video is not going to be watched in 4K so the additional resolution will make the file a lot larger than necessary.
It’s also a good idea to film in 24, 25 or 30 Frames Per Second (FPS), as opposed to 60. Shooting at 60FPS will make the file considerably larger than it needs to be. Ideally, if you can, you would film at 25 FPS in the UK, as this matches the frequency of the electrical system and will prevent image problems when using certain lights.
On phones, tablets and most cameras, the resolution and frame rate can be changed in the camera settings menu.
For more advice on compressing video files to make them smaller, please see this article.
Editing the Video File
It is easy to trim the video file down on a phone or tablet using the in-built features of the device, however if you need to do more complex editing, such as joining clips together, or adding a title card, we would recommend not using an editing app on your phone or tablet, but instead if you have the option, doing it on a computer.
With video editing apps for phones and tablets, they often compress the footage quite heavily to optimise their performance and this can cause issues down the line. Some apps also ask for additional payment in order to export a good quality video.
We have made this handy video guide on how to do basic editing on a computer, feel free to check it out!
Naming the File
If you send the video file directly from your mobile phone, tablet or camera, the file name won’t be very specific. If someone is receiving a lot of self-tapes, this can cause a lot of confusion, and mistakes can be made. Ideally name the file with the performer name, then the project title, then the role, then the scene. For example:
Kate Winslet Titanic Rose Scene 1.mp4
You can rename the files on most mobile phones and tablets quite easily, however you may find it easier to transfer it to a computer to do this.
We would also recommend not using symbols in the filename (£$%^&). Symbols are computer code and can confuse video editing and video conversion applications. This can cause them to fail, so it’s best to avoid all symbols in the filename to avoid confusion.
Sending the File
Sometimes, casting directors will request that the agent sends the file to them in a certain way. If they do, then always do as your agent suggests.
WeTransfer is a recommended way to send a file, as opposed to attaching it to an email. If you attach a video file to an email, your phone, tablet or computer could automatically compress the file to make it a lot smaller, reducing the resolution and quality of the image. Additionally the person receiving the file could have limited space in their inbox – receiving a lot of emails with heavy video attachments could quickly fill this space and mean that your video doesn’t even get through to them.
When sending via WeTransfer, it’s possible to get it to generate a link for you to send, instead of them receiving an email from WeTransfer. To the left of the ‘Transfer’ button, there is a circular button that contains three dots, clicking on this will give you the option to ‘Get Transfer Link’ – you can then copy and paste this link into a personalised email you send from your own email account.
When sending via WeTransfer, it is especially important to make sure that the file is clearly named. When the person receiving the tapes is downloading multiple files from multiple links from multiple performers, it can get very confusing if the files aren’t clearly named.
For more information on self-taping we have a whole range of articles, videos and podcasts that cover pretty much every aspect in the News & Advice section of the Spotlight website.