Tips for recording your voice at home and improving your audio recording quality.
Voice work can be a useful way of generating income, not to mention a good skill to have on your Spotlight profile. Thanks to advances in technology, it’s now easier than ever to record your voice in professional quality, meaning you can launch your voice-over career from the comfort of your own home. Here are our tips for creating a basic, relatively inexpensive setup for voice recording.
Before You Begin Recording Your Voice
It’s worth having a chat with your agent (if you have one) to see if they think it’s a good idea for you to set up for voice recording at home. Contacting a voice-over agent can also help you to decide whether it’s appropriate to make the investment in a home voice-over studio.
Setting up a studio at home can be trickier than you think, so before you break out the credit card, practise some examples on a free voice recording app on your phone. Once you get the hang of it, you can upload an audio clip to your Spotlight profile as a voice reel.
Choosing a Recording Space
You don’t need to build an audio recording booth just yet. Get started by finding a quiet part of your home to record in. Listen carefully to any background noise you can hear; fridges, busy roads and school playgrounds outside may well be picked up in the final recording, which you don’t want.
You also need to think about the acoustics of the space. ‘Lively’ is a word we use for rooms that produce a lot of hard echoes, such as bathrooms or empty halls. You should avoid recording in these rooms as the echoes will pick up on your recording, which isn’t ideal. Instead, pick a room with lots of soft furnishings, which will be less lively and more appropriate for your recording session.
A great way of testing how dead or lively the acoustics of a room are is by doing the ‘clap test’. Simply clap your hands and see how long the echo lasts and if there are any odd reflections of the sound. The shorter the echo and the fewer odd reflections, the better.
How to Deaden Acoustics
When people refer to an ‘acoustically dead space’, it means that the characteristics of the room completely absorb all of the sound waves, so there’s no echo or reverberation.
If you ever go into an acoustically dead space, it can be quite an eerie feeling. Whilst you don’t have to recreate a dead space at home (that would be very hard to do!), you do want to reduce the acoustic properties of your room so that the audio on the file is just that of your voice.
Here are some ways to help deaden the sound in your room:
- Use soft furnishings: You can use things you have around the house like soft furnishings, coat racks (with coats on them), curtains, and even sheets hung from the walls to help deaden the sound.
- Acoustic treatment foam: Recording studios often cover their walls with foam that has pits and peaks, which absorbs the sound wave and deadens the sound. Acoustic treatment foam panels are fairly inexpensive, but may not be necessary for someone starting out.
- Microphone isolation shields: A good substitute for covering your walls in foam or sheets is the purchase of a microphone isolation shield (sometimes called a portable audio recording booth).
Choosing a Microphone
Traditionally, voice-overs are recorded on condenser microphones, as they have a wider frequency response and high sound quality. When using them, they need to be fairly close to your mouth so they can pick up the best sound.
When it comes to choosing a microphone, here are some things to consider:
- Microphones for beginners: To start out, it would probably be advisable to get yourself a microphone that plugs directly into your computer – you can always upgrade later. Doing this means that you don’t have to invest (at this point) in an audio interface for your computer with XLR inputs and all that jazz. A USB-powered microphone such as the RØDE NT-USB is more than sufficient for a beginner.
- Upgrading your microphone: If you do want to get something bigger you can get the RØDE NT1-A Kit, which is a commonly used vocal condenser microphone. The kit comes with a pop shield, XLR cable and cradle. You’ll also need to get yourself a microphone stand and an audio interface to connect it to your computer. We would recommend a Behringer audio interface as they’re good quality and widely compatible.
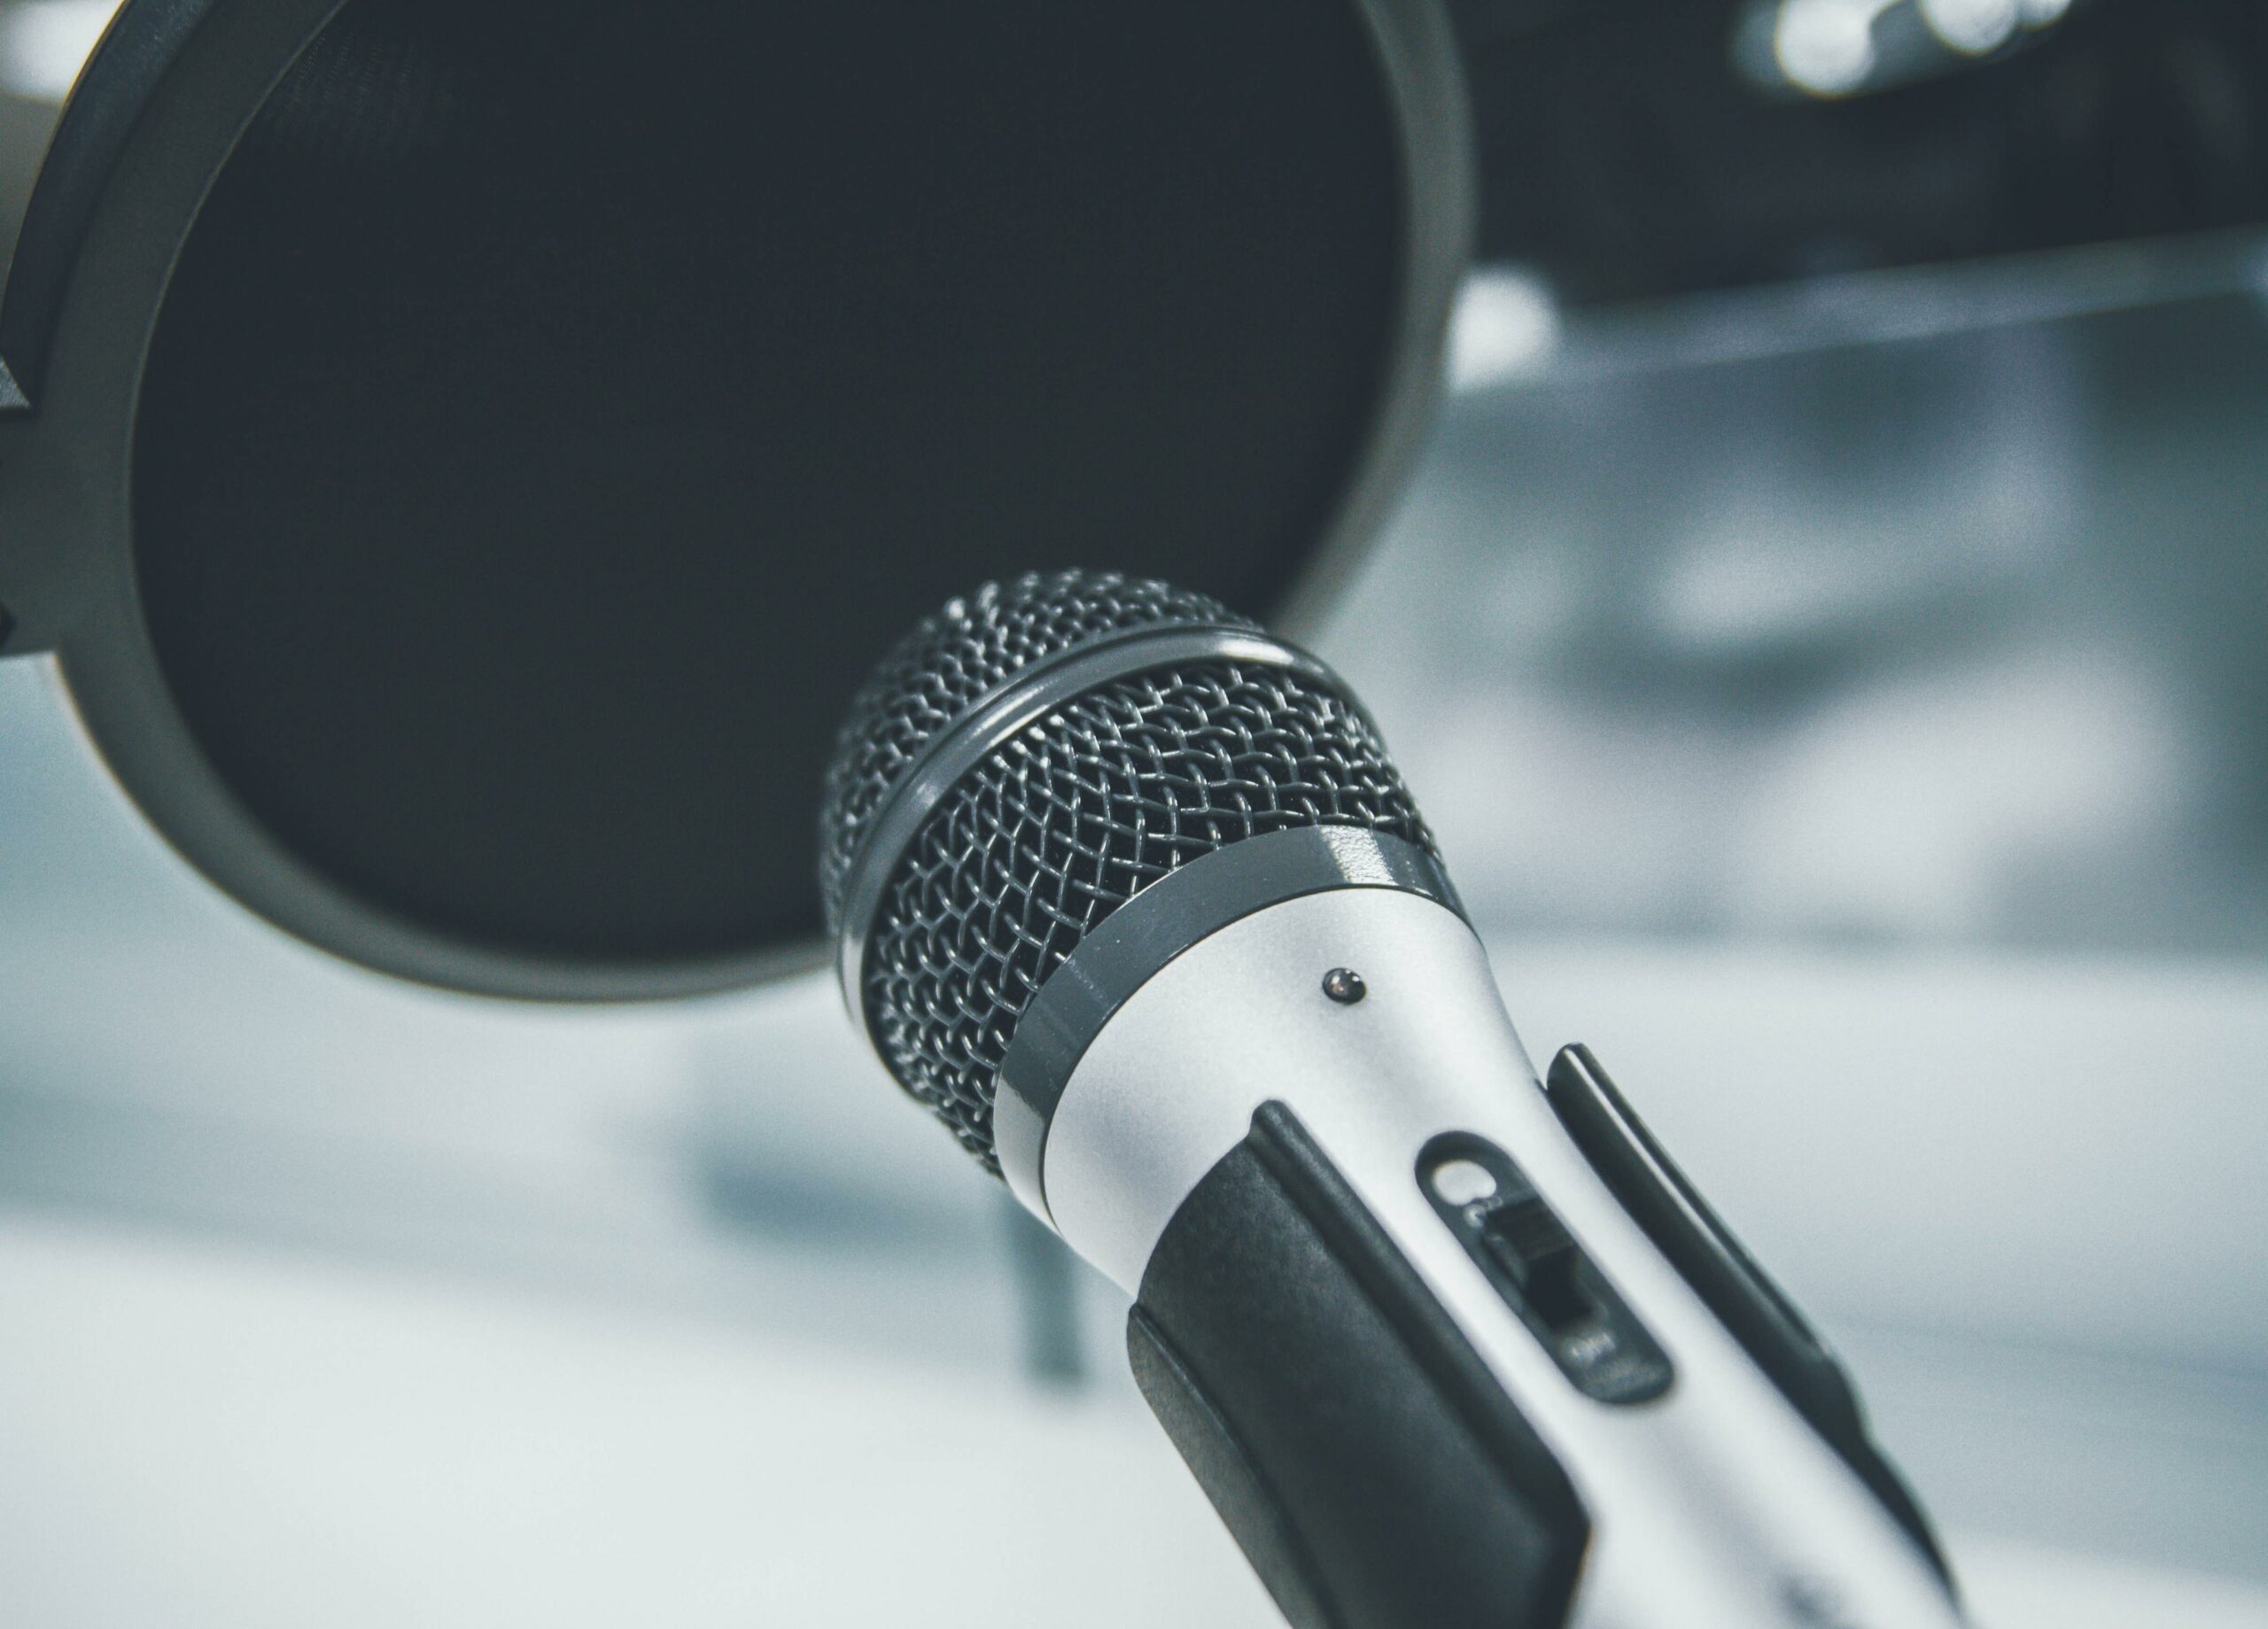
- Pop shields: The pop shield that’s included with both of the microphones we’ve recommended is used to reduce what is called ‘plosives’ – a popping noise caused by the sharp blows of air on the microphone when you say words, typically starting with ‘B’, ‘P’ and ‘K’. Pop shields are essential when recording voice-over, as you want your audio to sound professional. When recording your tests on your phone, you can improvise a pop shield using other material such as a pair of tights or socks stretched over a frame.
Tips for Recording Your Voice
Now that you’ve found your space, deadened the sound as much as possible, and have your mic and pop shield set up, it’s time to record! Before you press that button, here are some things to be aware of:
- What to wear when recording: Make sure that you wear clothes that aren’t too noisy. Necklaces, leather, and certain polyester clothes all make noises when you move, so make sure your clothes are silent.
- How close should you be to the microphone? If you’re using a condenser microphone, you should be positioned an open hand-width away from the microphone for the best results. Spread your hand out – the tip of your little finger is where the microphone should be, and your thumb should be where your mouth is, with the pop shield in between.
- Positioning your microphone: Turn the microphone to an ever-so-slight angle, so that you’re not directly in front of it. This helps reduce any plosives that the pop shield doesn’t remove and can improve the final recording.
- Softening certain letter sounds: Sibilance is the harsh distortion that sometimes occurs when you record words containing the letters ‘S’ and ‘C’. Some microphones pick it up more than others, and some people’s voices produce it more than others. It’s a common problem caused by a slight whistling noise made by the air from your mouth passing over your teeth. It can be quite tricky to teach yourself to reduce the harshness of those words, but a simple trick that you can use is to chew some gum and stick it to the roof of your mouth, which will reduce the whistling effect.
- Direct your lines to the microphone: If you are reading lines from paper or a tablet whilst you’re recording, make sure that you still direct your voice towards the microphone.
- How to reduce paper noise: If you use paper, scrunch the paper up a few times before you start recording to reduce the noise of the paper rustling.
- How to reduce tablet noise: If you’re using a tablet, try to avoid tapping the screen, as you don’t want the sound to be picked up by the mic.
- Use the correct microphone settings: When recording, make sure that you set the ‘Gain’ of the microphone so that you’re not clipping, but also not too quiet. If it’s too loud, it can cause distortion. The average level of the recording would ideally be around -6 to -12db in the software. If it’s too quiet, you’ll have to increase the gain afterwards, which can increase the hiss.
Which Audio Recording Software Should I Use?
One of the best known and easiest to use audio recording softwares is Audacity. It’s free and can be used to record, edit and export your audio file. It’s also compatible with both Mac and PC. There are many alternatives out there, like Adobe Audition and Riverside, so do some research to find something that works for you.
Once you’ve found your ideal software, you’re ready to go. Keep your voice healthy with vocal warm-ups, practise recording your voice on your phone, and have fun.
Ready to put this advice into action? Sign in to update your profile, highlight your unique skills and make sure you stay visible on Spotlight.