


If you’ve been asked to put yourself on tape for an audition, don’t panic. Here are our tips for self-taping auditions from home.
In this video, we discuss cameras, lighting, sound, sending your self-tape to the casting director and more.
What do I need to film my self-tape at home?
You’ll need:
- A video camera
- A computer with an internet connection
- A light source
Choosing a video camera
Nothing fancy is needed, but choose a recognisable brand, such as Canon, Sony, Apple etc. You could also use a DSLR if you have one.
The format needs to be MP4 ideally, though AVCHD is also okay. Aim to spend around £150-£250 on a Canon Legria HF R506, if you’re looking to invest in this equipment. If you’re an actor who puts themselves on tape a lot this would be worth it.
Filming on a phone
If you’re in a hurry and don’t often need to self-tape, you can also film your self-tape on your phone. To get the best sound, sit as close to the phone as possible and be sure to film in landscape, not portrait!
You can send the clip to the casting director via the WeTransfer app on iPhone and via the Vimeo app on Android.
Lighting
To light yourself properly, use natural light if you can to get the best results but you can also use soft practical lights in your house. Soft lighting is the best choice for a taped audition, and you should choose from a large source which casts soft, diffused shadows. Hard light from a small light source would cast a sharp shadow and it literally won’t show you in your best light.
if you need an artificial light, we would recommend a CN 160 LED light. We have an article dedicated to more tips about lighting and sound for self-tapes if you’d like to know more.
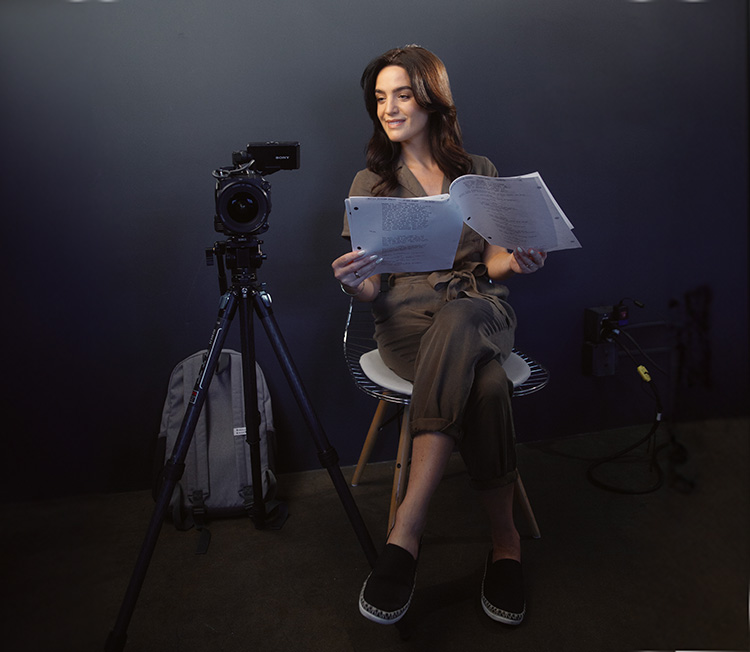
Setting up for a self-tape
Setting up the room
Ensure that background noise is kept to a minimum and that the camera is at your eye-level. Your light source should be in front of you and not in the shot – don’t sit with a window behind you as it can put you in shadow.
Try to find a plain background to film against – we find that grey works best and you could use a bedsheet hung on the wall if you don’t want to paint your walls.
Before you start filming
Learn your lines and rehearse. Read any instructions that you may have been sent, thoroughly and check if you need to film an ident for your self-tape. Get a friend or fellow actor to read in the other lines if necessary.
Props and costume
Make sure your clothing is appropriate for the character although it’s not necessary to rent a costume. Only use props that are essential to the performance.
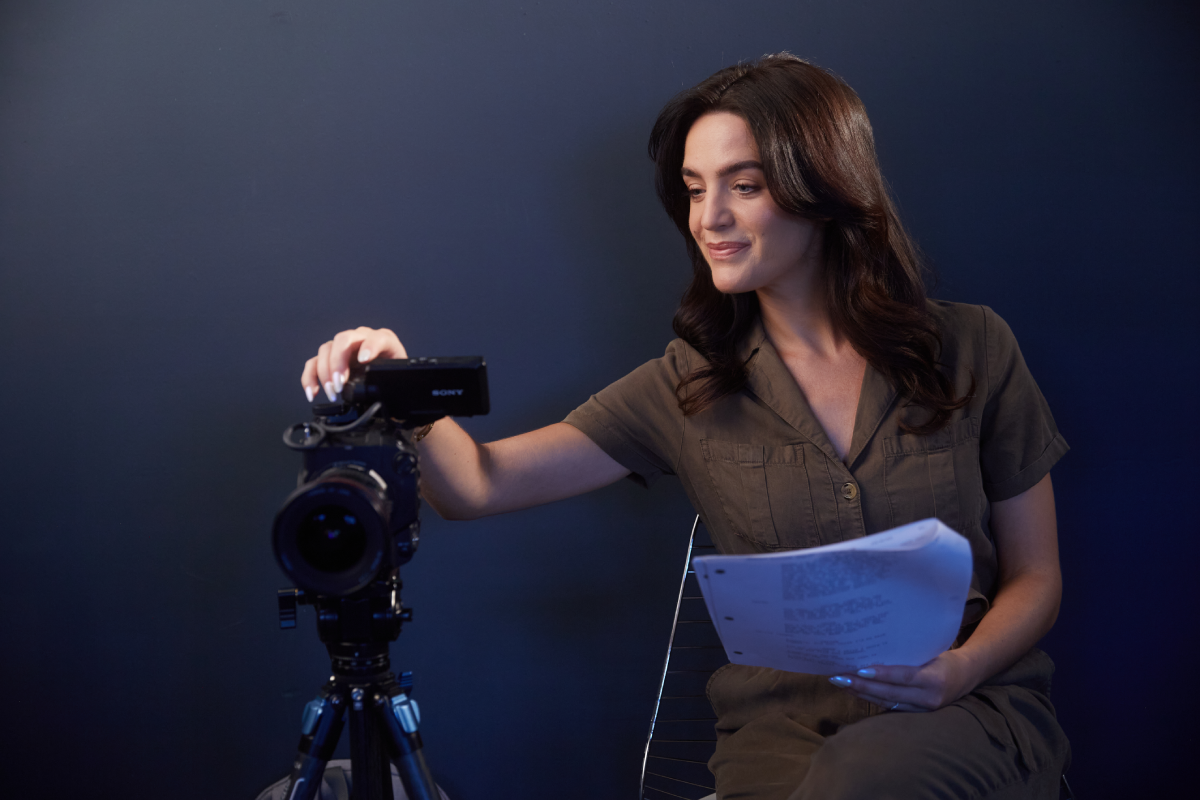
Filming your self-tape
When filming your self-tape, consider the following:
- Your eye line should be close to the camera as they want to see both sides of your face.
- If you’re using a reader, make sure they aren’t too loud.
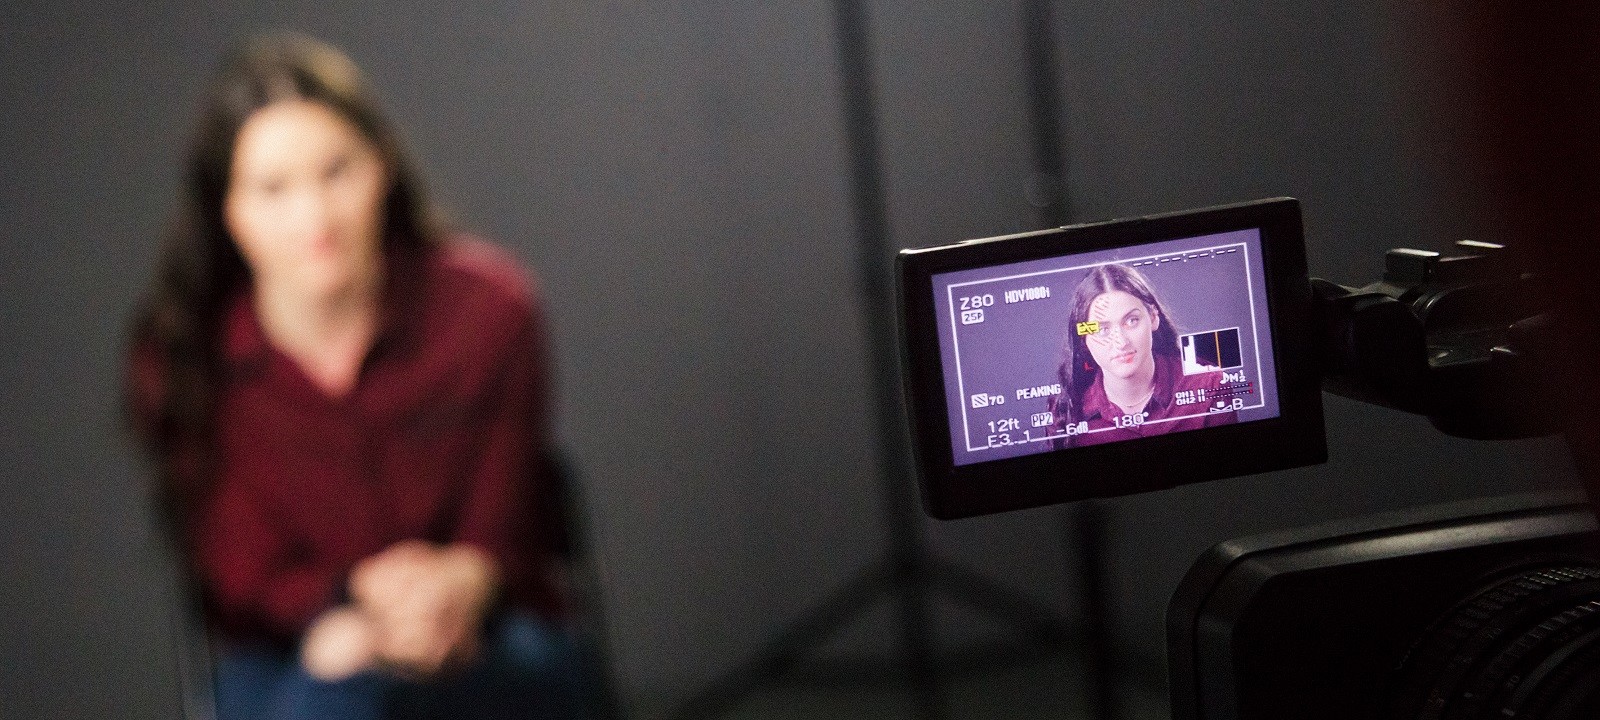
- Don’t go too far from the camera (unless you have an external microphone).
- Frame in a mid-close shot unless requested otherwise (mid-close shot means seeing from your chest to the top of your head).
- Sit or stand depending on what feels comfortable/appropriate for the scene.
- Don’t do too many takes – If you can’t get it in three takes, take some time to pause and then then try again
It’s easier said than done but don’t overthink it!
Sending your self-tape
Converting the video file
Quicktime is useful for converting the file to a universal standard. Just import the file and export it as MP4 using Apple TV settings. On the other hand, if you wish to edit the clip before exporting it, use MPEG Streamclip (free to download). You’ll just need to select ‘in’ and ‘out’ points (‘I’ and ‘O’ on a keyboard) and then export it as MP4 using Apple TV settings.
Sending it to the casting director
Label the clips with your name first, then add the project title and scene.
Don’t send too many takes, unless requested. If you send more than one take, make sure they’re sufficiently different. You can send it via www.wetransfer.com or a downloadable Vimeo private link. We have more information about editing and sharing your self-tape with casting directors if you need more help.
More self-tape tips
We have lots more articles if you’re looking for more in-depth tips including how to improve your self-tape, self-taping for beginners, casting directors’ self-tape tips and even a podcast episode dedicated to self-taping on your phone.
Full video transcript
Narrator: Self-taping is a very useful skill for a performer to have, and is something that is becoming ever more common. In this video. We hope to give you some basic tips on how to do it properly. I’ll talk about cameras, lighting, sound, how to send it to the casting director and some other useful stuff too.
Also on our YouTube channel, there is another great video that we made that features a load of casting directors explaining what they want to see from a self-tape. It’s called Everything you need to know about self-taping, and you should definitely check it out… after you watch this of course.
Anyway, so for this
, we’re going to need an actor. We don’t have an actor despite being Spotlight. So this is Ilayda, she looks after our calendar here for our rooms and studios at Spotlight.
Ilyda: Oh, and this sheep is coming into the studio? Okay.
Narrator: You will also need someone else to read in the other lines if there are other lines and so for this, we have Ross. Ross works in our IT department and does things with computers, amongst other things.
You will need to use a camera to film your self-tape. A lot of people have a DSLR that records video. These are fantastic as they deliver a pleasing, shallow depth of field, which means that you can get the background out of focus. They pick up a lot of light and most have an external microphone input, which is useful as you don’t want your self-tape to have bad sound. They also record in a format that is easily used on a computer. It also means that you have a good camera that you can take on holiday with you, or even make your own short films.
You can get a DSLR for around £300, just make sure it shoots video. If you don’t want to spend £300, you can also use other cameras. Look for a recognisable brand and make sure that it records in either AVCHD or MP4 format. AVCHD stands for Advanced Video Coding High Definition, but you don’t need to know that. It is a commonly used video format that can be converted fairly quickly and easily on your computer following the instructions in another video demo in this series.
MP4 is possibly the most commonly watched video format in the world at the moment, therefore, if you buy a camera that records in this format, you will most likely need to do no processing of the footage in the computer at the end of the self-tape. Just rename it and send it to the casting director. You can also shoot on your phone or tablet, which can give you very good results, but you may be restricted and not be able to zoom on the lens of the phone or tablet’s camera.
Next, you need to find somewhere to film.
Firstly, think about the background noise and the acoustic properties of the room. Stand in the room and listen to the noises around you that you may not usually notice. Turn off fridges, air conditioners, extractor fans and close windows to avoid getting any noise from outside. If the room is quite echoey, it may be an idea to hang some sheets on the walls or bring furniture into the room to help deaden the sound. Coat racks with coats on them are a great way of deadening the sound in a room as they can break up the sound waves as they bounce off the walls. It could also be an idea to invest in an external microphone for your self-tape set-up, a company called RØDE manufactures some high-quality microphones that can easily plug into your DSLR or Canon. I would recommend the RØDE VideoMic GO as it is perfect for this set-up. You can have it on top of the camera or you can position it out of the shot, close to you.
Next, think about lighting and which direction you are going to film. Don’t sit directly in front of a window as this will most likely be overexposed and you may be silhouetted in the video. A window in front of your face and behind the camera can be good as it will illuminate your face, which is most important to see. Daylight, especially in the UK, can be very unpredictable, however, as it keeps on changing, in which case you can buy some additional lights or use lights around your home.
When you are lighting yourself, you need to think about the type of light used. You have hard lights and soft lights. Hard lights are from small sources and can cast hard shadows on a performer’s face. Soft lights are from large diffuse sources and as a result, the shadows are softer. Soft lighting is ideal for self-tapes as it helps hide skin imperfections and is much more flattering. Lights around your house with a lampshade on them will be good to use as a stand in for a soft light. If you want to get some lights for purpose, do a search on Amazon or eBay for video softbox, and you will be able to find some lovely big studio lights that should cost around £60 for a set or two. When setting the lights up, make sure that they’re not too high or too low to avoid causing awkward shadows on your face.
The background is also important to think about. Make sure that it’s not too busy as this can be distracting from your performance. Avoid hard colours as this can affect the camera and make you look unwell. We recommend a grey background. This can be very flattering for a wide range of skin tones. If you haven’t got anywhere in your house with a suitable backdrop, you can use a bed sheet, gaffer taped to the wall, or even better. You can buy yourself a grey bed sheet for about £10 which would do the job. Just make sure it’s a flat sheet and not a fitted one.
Set up the camera so that it is eye level. If it is too low or too high, it may not be particularly flattering. You can place the camera on a stack of books or even invest in a cheap tripod. If you’re shooting on a phone, you can get phone tripods that work just as well. Your eyeline should be close to the camera and under most circumstances, it should not be directly down the lens. You need to frame up in a mid close-up which is shoulders to the top of your head. It’s important when shooting on a phone that you do not shoot in portrait and that you shoot in landscape otherwise this may happen when a casting director watches it and you don’t want that.
Make sure that the lights are set so that your face is illuminated and if you have an external microphone, place it close to you, you could even invest in a second cheap tripod to put the microphone on. Try not to sit too close to the camera as the fish eye affect to the lens when it is wide could make your face look slightly distorted.
Before you start filming, you need to read all of the instructions that you’ve been sent. Read the scene, rehearse it, and make sure that you understand fully what you’re doing. If you’re planning to be off book and not read from the script, you need to learn the lines before you start filming. Once you’re comfortable with the scene, position the reader to the side of the camera. If you are using the microphone onboard the camera, you may need to place them a bit further back from the camera so they’re not too loud on the tape. Also make sure that they’re not over-delivering. This is your self-tape, not theirs.
When you start self-taping, it’s important at this point not to overthink it. Do it three times and watch it back. If you haven’t got it in three takes, take some time off, have a cup of tea and do it again. If you keep on doing it, you’ll do loads and loads of takes and you’ll become stressed, which will be apparent when the clip is watched. Your reader also will probably get really annoyed.
Once you’re happy with your tape, you need to send the footage to the casting director. It’s important to send it to them in a format that they can watch. As I mentioned earlier, MP4 is the most commonly watched video format in the world at this time so if you convert your video into an MP4 file, they will most likely be able to see it. There is a video demonstration in this series that shows you how to convert video footage into MP4 that you can watch when the time comes, or if you don’t want to watch the other video, it’s a simple case of opening the video file in QuickTime Player, selecting file, export, then selecting one of the settings on the iPad, iPhone, iPod Touch and Apple TV options.
If you open the file, then go to edit, then trim. It will bring up these grab handle things that will enable you to trim the beginning and the end of the clip, then export it in the same way that I have just mentioned. But if you are especially technical, you can edit the footage. On both Mac and PC, there’s a fantastic piece of software called DaVinci Resolve. The Lite version is free to use and can be downloaded from Blackmagicdesign, who is the company that makes it. It has professional editing features that rival its expensive counterparts. I’m not going to do a demonstration on how to edit in DaVinci, but there are many other tutorials online that do.
Next you need to name the file. Because the casting director may receive a lot of tapes for the project that they’re casting, it’s important to name it with your name first and then with the role and then the scene and then with the project as this can help the casting director organise the clips. Once you’ve named the file, you can send it off. We would recommend not sending the casting director more than one take of each scene unless they have requested it. If you do send them more than one take, make sure that they’re sufficiently different.
We would recommend using wetransfer to send the footage to the casting director. This is free and very easy to use. Go to www.wetransfer.com and follow the instructions on screen. If you are using a phone, you can download the wetransfer app, which works just as well on Android and iOS. Alternatively, you can sign up for a free Vimeo account onto which you can upload your video. You would however need to make sure that the file is downloadable so that the casting director can use the footage. Also it’s wise to make it password protected as the script that you are reading from is most likely copy protected.
Again, there is a Vimeo app for your phone if you so need. We would not recommend using YouTube as the casting director will most likely have difficulty downloading the footage from YouTube. And that’s it. You’ve self-taped and sent it to the casting director. If you’ve bought lights and a camera, it may be wise to set up some space in your flat to do it next time. Also as with anything, practise makes perfect. If you’ve got all the equipment, you can use it to practise self-taping, and also more importantly, practising your camera technique so when you do get that big self-tape in, you’ll be completely prepared, confident, and it won’t be stressful. Thank you for watching.